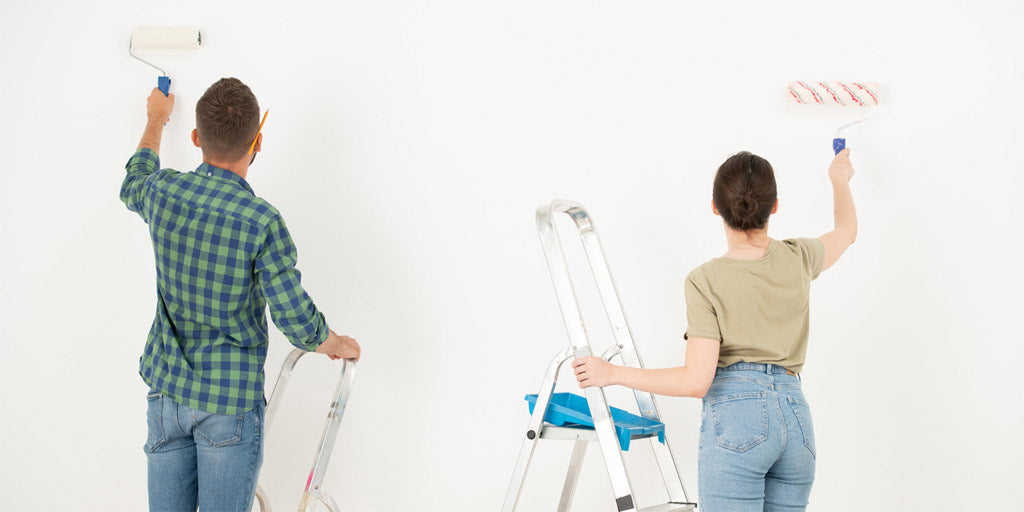
Painting a room - it doesn’t sound too hard, right? Well, it doesn’t have to be if you know where to start. However, if you put the wrong foot forward when painting a room, you could be creating more work for yourself.
That’s why we’ve made a step by step guide on the right order for decorating your room.
1. Start with the ceiling
By painting from ceiling to floor, you’ll avoid those pesky splash marks on a freshly painted wall. When painting your ceiling, you’ll need two coats of paint with at least two hours of drying time in between.
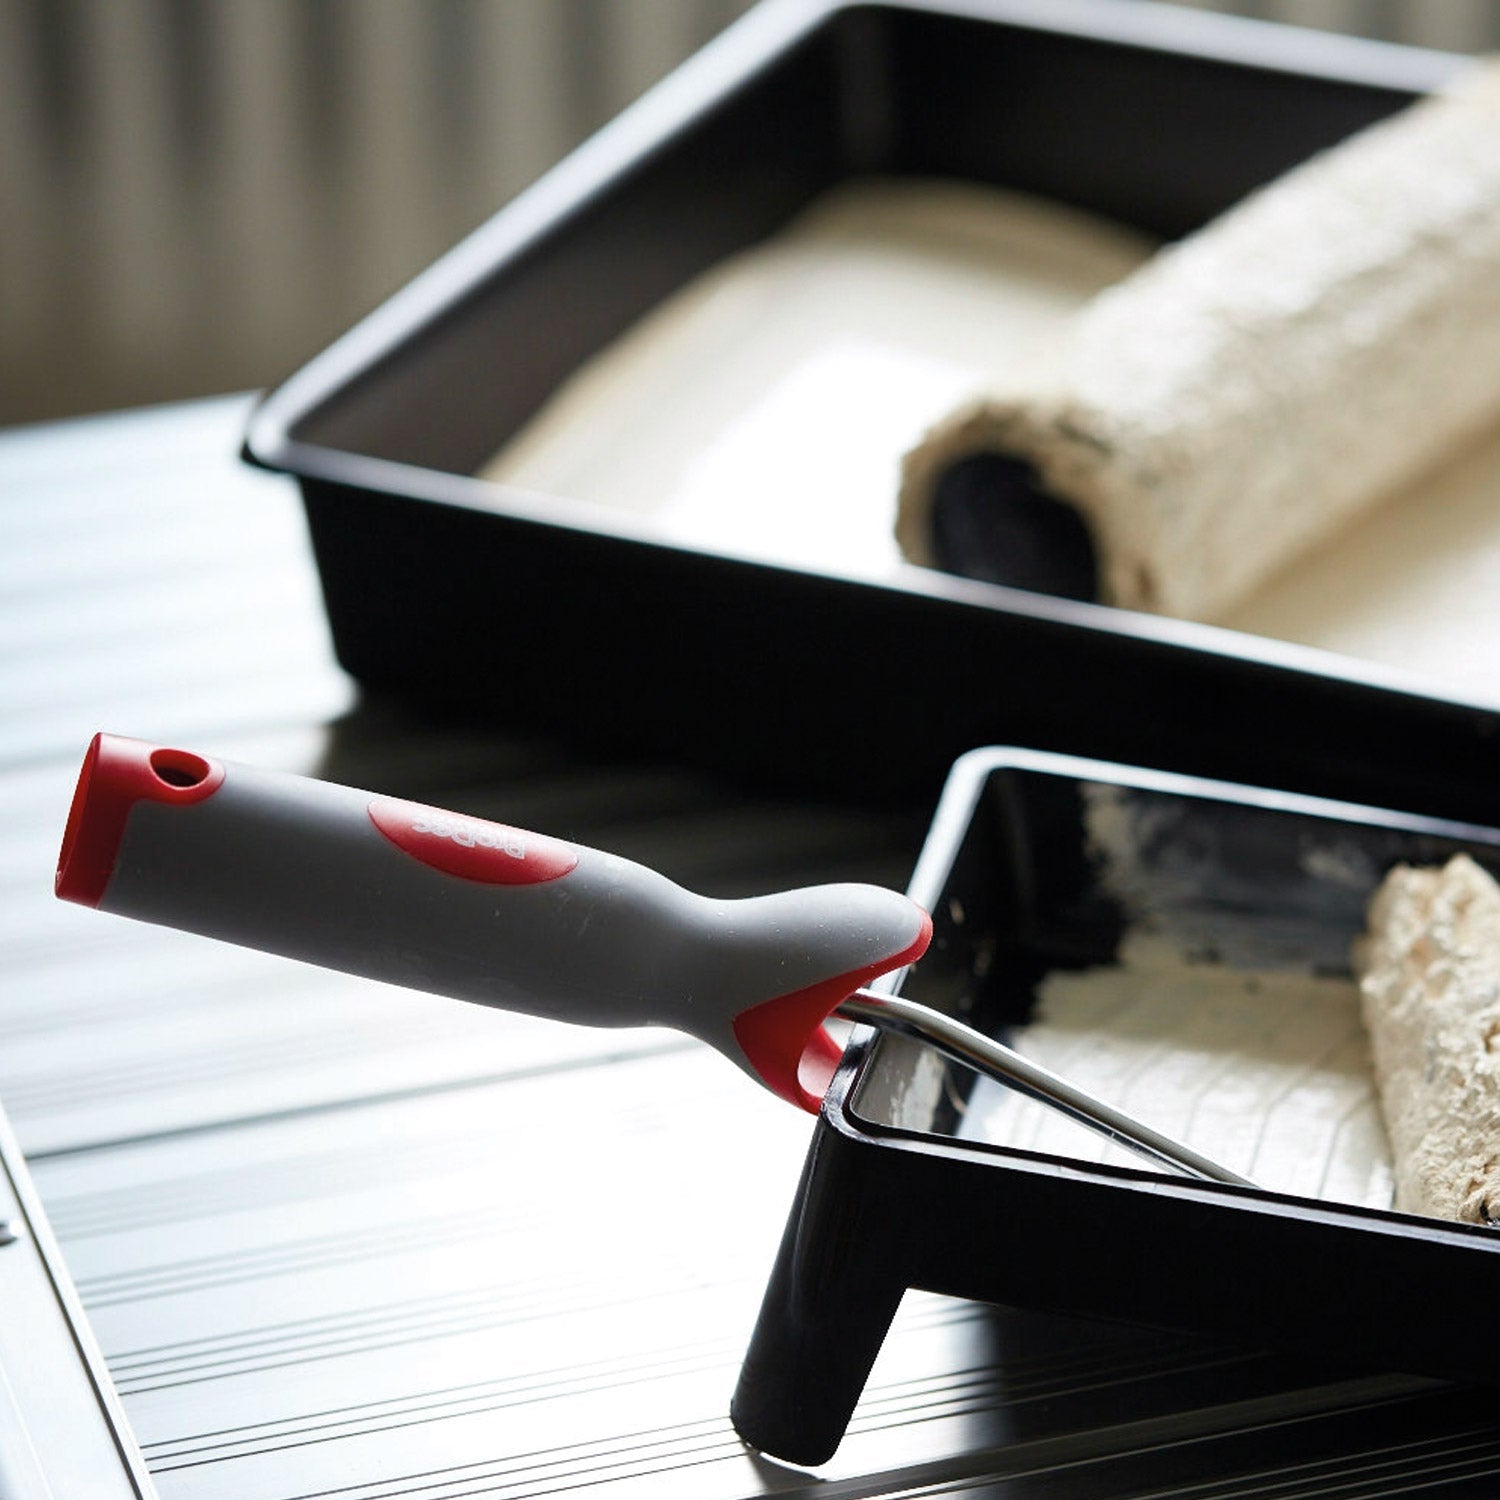
It’s important to use the right tools, so we recommend using a high-quality paint roller for the ceiling. This will help you gain even coverage across flat surfaces.
2. Then move onto the walls
Moving your way down the room, you’ll want to follow on by painting the walls. These will also need two coats of paint. If you don’t want to worry about hanging out in the room while the paint is drying, then we recommend a paint that has no odour or toxic emissions, so there’s no fear of headaches or inhaling hazardous fumes.
When painting your walls, it is best to start around the edges. A good tip is to paint around the fixtures with a paintbrush and block them off with masking tape to prevent paint splashes.
3. Paint the skirting boards
Next up, it’s time to paint the skirting boards. Just like the wall fixtures, it’s a good idea to block these off with masking or painting tape while painting the walls. You might also want to keep the masking tape on the edge of the skirting boards when painting them to avoid paint getting on the floor or carpet.

Make sure you start on the skirting boards after the wall paint has had time to dry, otherwise you’ll make some unsightly smudge marks on your freshly painted walls.
4. Painting the window and door frames
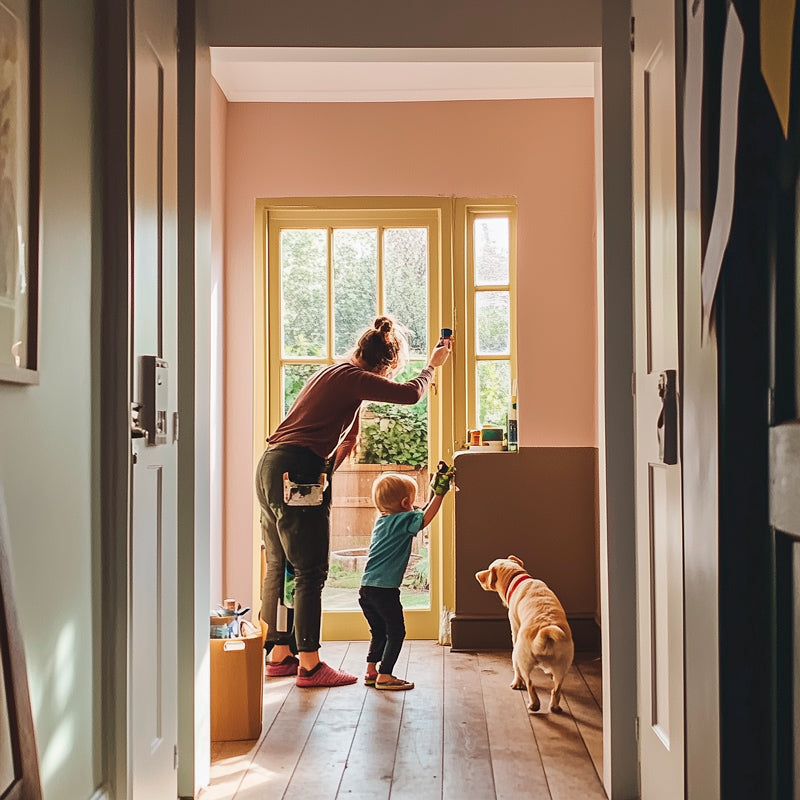
Now you can move onto painting the window and door frames. Approach these much in the same way as the skirting boards, putting tape in on the walls to stop paint splashing. We recommend finding a paint that can touch dry within 15-20 minutes, but you start painting these in the morning, so they have a full day to dry.
5. Finish with painting the doors
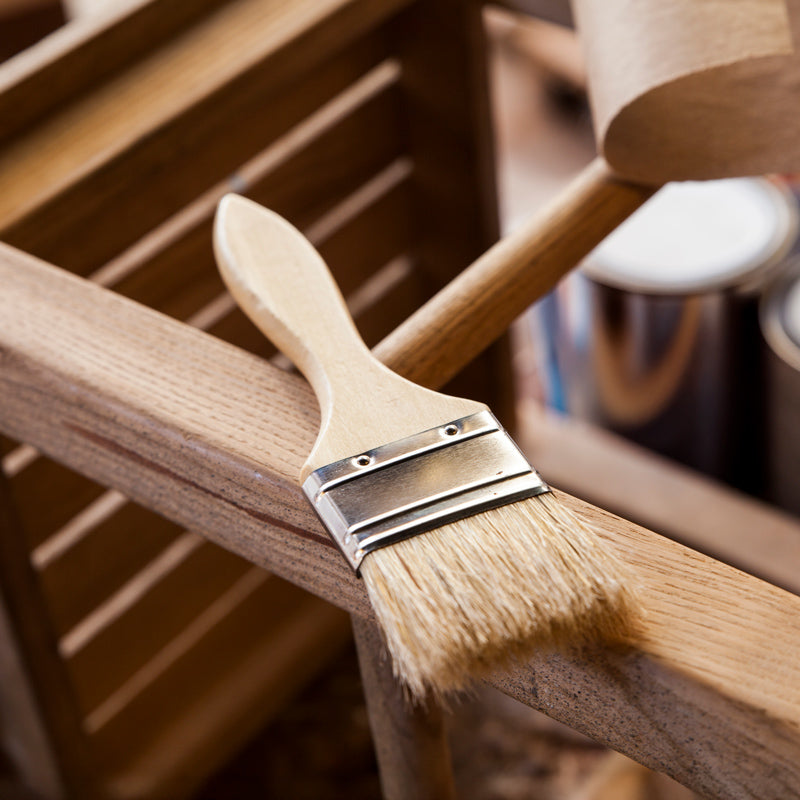
When painting doors, you’ll want to use a combination of a roller and finish brushes. The roller gives excellent coverage for flat surfaces, while a sash brush works best for painting panel doors. Like the ceiling and the walls, two coats of paint are adequate for a fresh looking door.
Sticking to these steps when painting a room prevents any splashing paint from ruining your hard work. With Little Knights 100% VOC free paints, you can be sure you are using the safest paint, whether you’re completely redecorating the room or just giving it a touch-up.


